Showing posts with label Sunday Organizing. Show all posts

Sunday, August 19, 2018

My Hand-stitching Tote Finish!

Ta-Da! I finished the cover for my new little hand-stitching bag this morning:

It's a little Yazzii tote I got on clearance earlier this month. Closed, it measure 7x9.5x3 inches and will make the perfect keeper of all my hand-stitching supplies and travel projects. 
It has eight  zippered compartments that have see-through panels.
Here's a peek inside mine:
 Needles, pens, pencils, nail files, binding clips, mini rulers: 

Applique pins, seam ripper, scissors, and there's another pocket for my thread:

My travel pin cushion, thread catcher, and project are kept in the final pouches:

In my previous post, some of you questioned how I as going to attach my cover.
Once I got the "cover" done....which is really just a mini quilt, I clipped it to the bag:

Then just hand stitching it to the tote using a small whip-stitch:
(It's surprisingly really secure.)
I've been searching high and low for the "perfect" travel bag for my hand-stitching and I think this one is going to be the perfect solution....plus it's so darn cute that I love using it!!!
Curious is you have a "go-to" tote for your hand stitching and what you keep in yours?

Sharing with everyone else at:
Slow Sunday Stitching

Sunday, August 12, 2018

A Little Creative Stitching...

THANK YOU for your kind comments and support as I make this big transition in my teaching career. Your comments are a continuous reminder of how valuable our quilty friendships are. And not being one to be without a hand project, I had a "Squirrel moment" and I bought a Yazzi bag on clearance and started yet, a new project without finishing that which is already at hand. LOL!
I dug out this adorable Sue Spargo Needle Keeper kit I've had in my stash for years and am using it to create a cover for my new little supply bag.
It's been the perfect little project right now.
Today I'll start to play with some creative stitching during my afternoon down time and am looking forward to using this as my new travel stitch bag.
 Sometimes a quick...and yes, cute....project is just so rejuvenating! 
I'll be sure to share my finish soon.


Friday, June 24, 2016

Studio Reorganized & One Tip

While I should be working on my raw edged flowers and nine patches, I mean after all, they are my June OMG....but noooo instead: SQUIRREL!!! I got back from my retreat all inspired to rearrange my entire studio! (I have no idea why!) I created a larger cutting/quilting area:

Jackson was a great help! NOT! LOL!!Okay, see that big sectional in the background....
well I sold half of it (More...cash for fabric!! LOL!!) and...

... moved my little table and chairs over there (so cozy) :
My mom would call and after the third time of dropping the phone while she was talking, she asked: "What are you doing?" Reply: "Rearranging my fabric!" She laughed reminding me that I do that every summer...in reflection, I guess she's right. But I can't tell ya how rejuvenating it is. So I spent another day rearranging ALL my fabric. Truth be told, I was hoping to go through all my fabric in hopes of reopening my Etsy shop and getting rich selling my fabric stash...LOL!! NOT!...I found myself ooohhh and auughhhh way too much and only ended wishing I had more time to create.
I emptied my entire glass cabinets and here's how I always seem to end up organizing:

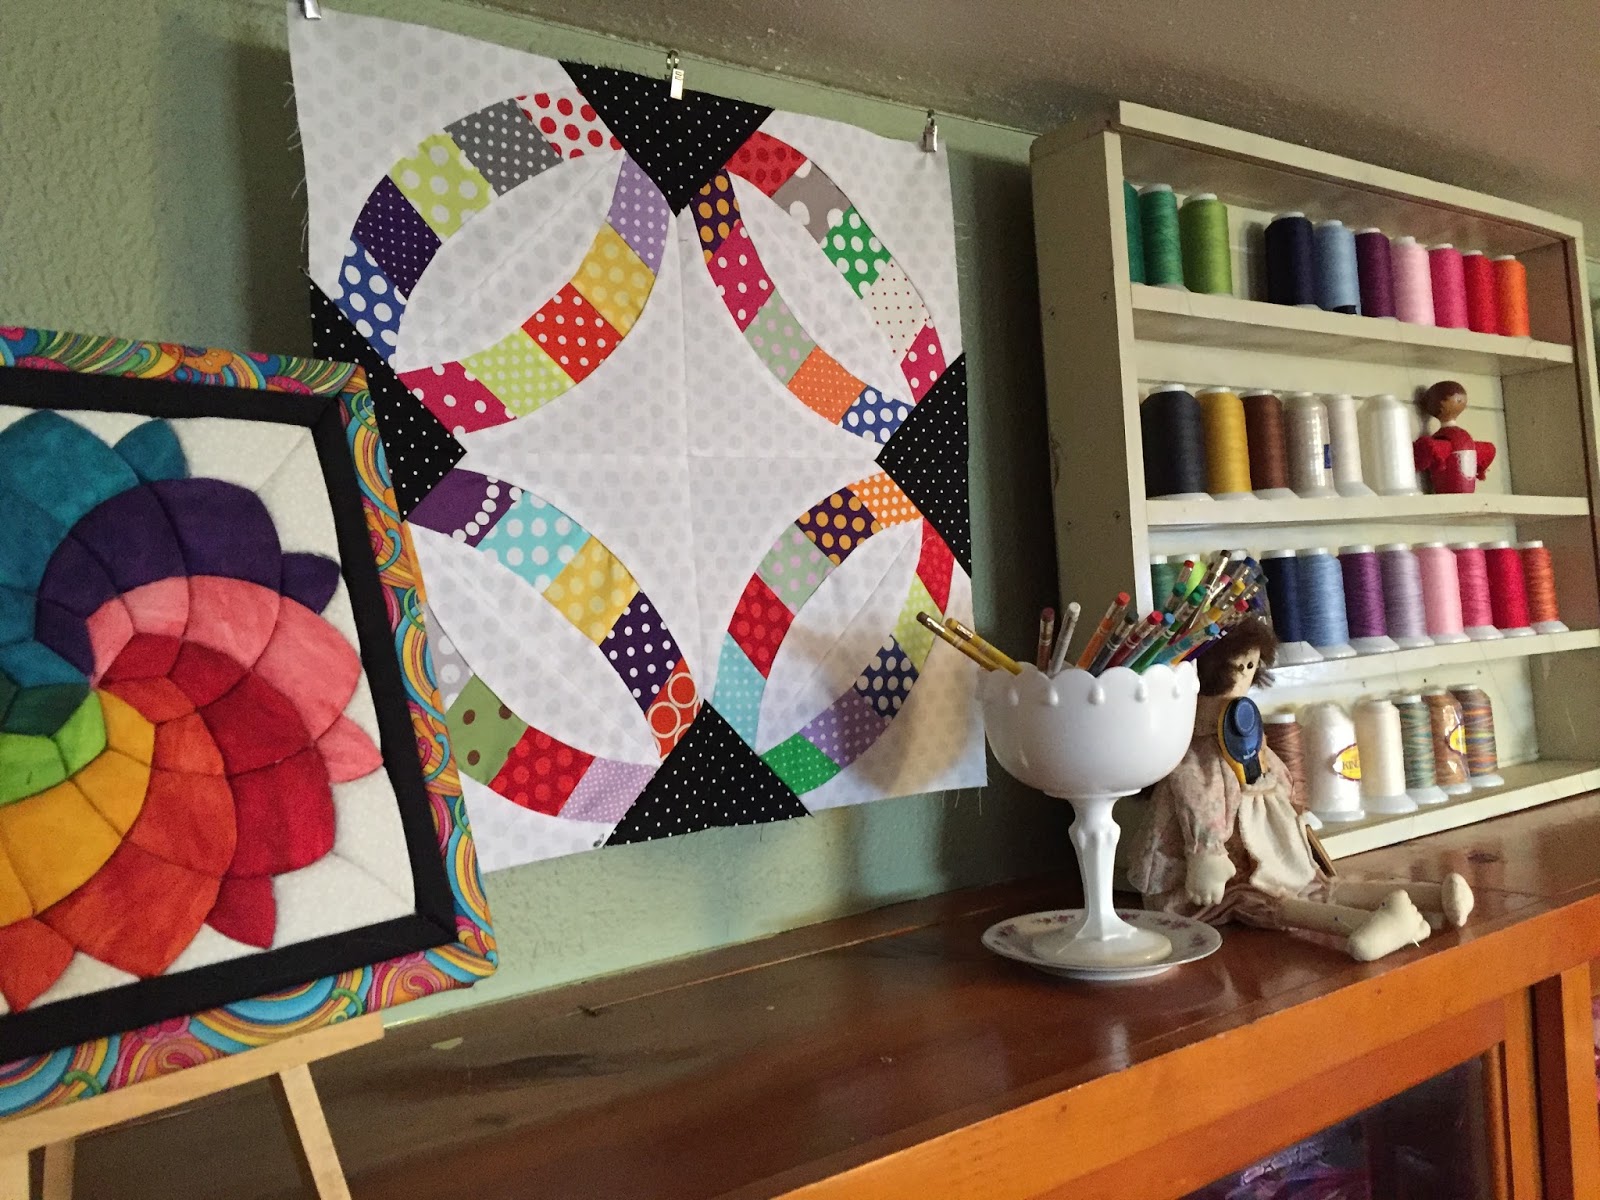
I organize my STASH in a RAINBOW spectrum.

My one tip: whether it be my thread or fabric organize them in a rainbow order. I start with green. 
Why haven't I finished this Metro-Rings quilt?? Until then, I 'll enjoy it here.

Here is my stash revamped: 

And now that I'm all reorganized...I got back to creating. I ending up backing my crazy jelly roll race classroom quilt with these pearl rings I found in my stash. I quilted it with a bubble pantograph.
Today I plan to sew a green binding on it and put it in my back-to-school pile.

Last thing I want to do is organize my WIP hand projects as inspired by Karen who blogs at Moose Bay Muses especially as our July will be a busy month filled with travels and family. She made these adorable vinyl bags and though I love their colored zippers, I'm pretty sure mine will be organized into gallon-size ziploc bags, put into a cute basket, of course. Thanks for the inspiration Karen.
So that's what I've been up to this week...no Etsy shop reopened...but never the less, reinspired am I.
Join us! Click picture to read about our Tuesday linky.
Val's Quilting Studio

Tuesday, February 24, 2015

Tuesday Archives #51: Organizational Tips!

Image result for welcome
This week will find us digging through our archives (or even creating a new post) to share our Orgainzational Tips with eachother. Admittably, I enjoy creating and organizing my sewing area as much as I do sewing! LOL!! 
Val's Quilting Studio

When I first started blogging about a year and half ago, I was also pretty new to quilting and was then busy transitioning out of scrapbooking and into quilting. 
So I had a weekly Sunday Post Called: 
My Sunday Organizing Series
These are quick links to all my previous Organizational Posts.
7. Rulers
I don't think as I continue to remodel my sewing space that I'll be changing many of these except for how I store my fabric. If ya haven't had a chance, click here to get a peek at what I'm up to and even share your sewing space with us as well. Everyone who has linked their sewing spaces so far have great ideas and lots of inspiration to be seen. I've enjoyed getting a peek into everyone's crafty spaces and am getting a lot of ideas of what to do with my fabric as I utilize my built-in bookcase. It's amazing all the thrifty tricks we come up with  (I mean that only means money saved for as what blogging friend Deb, who blogs at Quiltingartist, calls "Fabric Collecting".) I'm looking forward to seeing what you have to share this week!


Sunday, February 22, 2015

Sewing Room Make-Over &Linky

I have only one plan today: to be in my sewing room!
I have those many pieces to prepare and cut for my Modern Rings Quilt.
I want to prep my Polka-Dotted Pinwheels Flimsy to quilt next weekend.
And I plan to enjoy some slow-stitching while watching the Oscar's tonight.
All the while, I know I'll also be thinking of what "finishing touches" I want to add to my studio make-over that has been a WIP.

Before:

I had been feeling overwhelmed with "clutter".
And when things get cluttery, I feel less creative.

 I was also tired of how "commercial" looking my space had become and 
found myself reevaluating how I was using my space.

I geuss you can say, instead of Grammy's Sewing Studio being hands off, we also wanted to create  a cozy/inviting area that would accomidate family visits as well. 
So last Fall we took everything out. 
Now THAT in itself was rejuvinating!! I didn't even mind sewing in the livingroom for awhile.
So here's our progress is as of this morning...

After:

My darling husband painted walls and added paneling.
This half of the room in designated as my sewing area and I already love the clean "feel".

So far THIS is my favorite little spot to sit and applique:

And I love how this little section came together:

And for the other side,
 We traded a large recliner for a family sectional. I reorganized and got rid of anything that didn't have to do with sewing. (That glass bookcase was filled with cookbooks, yearbooks from my college days and daughter's highschool years as well as stuff I forgot I even had and didn't need! LOL!) Now my quilting books, fabric and notions fill this beautiful bookcase.

 But!

I don't feel like it's finished and have hit a creative block. I'm looking forward to getting ideas from this week's Tuesday Archives Organizational Theme, but if you were my neighbor and we were sitting together stitching, what would you tell me it needs?
I know I'd share with you that this is my "project" list so far: 
  1. Find a large round rug for under the table. 
  2. Redo the chair cushions.
  3. Repaint two of the white chairs...maybe one a turquoise and the other a mustard yellow? (I like the red...it stays!)
  4. Create fun pillow covers to carry the reds, blacks and dots over to the couch area.
  5. Recover large and small ironing boards.
  6. Charm hubby into making another quilt ladder.
  7. Sew a cute "mat" for my sewing machine


Wednesday, January 21, 2015

Quick Book Tip

Since this is where I (and Jackson) have admittably spent most 
our week while I recovering from a major gallbladder attack.  
I found myself leafing through many old quilting books. 

 I was inspired to share a very handy book tip with you: SPIRAL BIND your books!
I picked this trick up at a retreat and have continued to do this to my books ever since.
All's I can tell you, is it's worth the few bucks it costs to bind the book.

Though I am a Farmer's Dropout (You can read more about that here) sprial binding this little, thick book made making these patterns so much easier. No more stacking books on one side of the book to keep the page open. No more loosing my place.  
NOW your page patterns will always be flat!

SPIRAL BINDING is also helpful with design books. 
I got these two from Santa for Christmas and...

...love that I can just have the page open flat. I can trace the pattern into my own 
sketch book and/or just use it as a guide to continuously practice FMQ designs.
This page is from Quilt Doodling.

This page is from Shape by Shape.
Oh...and these two new books...LOVE THEM!
Hope you find the tip handy.
And...do stop by Saturday for my Grow Your Blog Give-Away.
Preview
I see many of us will be joining in this year and
I'm looking forward to spending the next couple weeks enjoying this event!
With smiles,
Val:)

Friday, August 8, 2014

My Studio & Organizing Tips

This is our basement studio. My husband creates stain-glass and I quilt.
We have fun and feel lucky to share this space together.
But I'm thinking of doing some remodeling in here....as my newest adventure in the quilting world finds me enjoying the art of long-arm quilting on my Tin Lizzie 18. (Pictured below  and if you are looking for a long-arm quilter, please do click here to check out  my Long-Arm Quilting Services page.)
 But I want to utilize this space to better accommodate family and well, feel a little bit cozier and lot less industrial. So my mind is spinning with ideas...
Anyhoo...that's what I'm thinking about today. I've also included links to all my previous organizing posts in case you too are looking for ideas, as I may be coming up with new methods to soon share with you. Here ya go:

Sunday, January 12, 2014

Sunday Organizing: Safety Pin Storage

It's been awhile since I created a Sunday Organizing post. Yet last night as I proceeded to pin my word of the year sampler quilt, I smiled in reflection of my use of  old "pill bottles".  They really do make the perfect safety pin holder... safe and secure from children and easy to throw in your sewing bag. 

 I also found my childhood needles stored in an empty staple box.
(Guess I've always been thrifty and organized! LOL!!)

Comment to share your nifty safety pin storage idea.
With smiles!
Val:)

Sunday, November 17, 2013

Sunday Organizing: WIP Storage

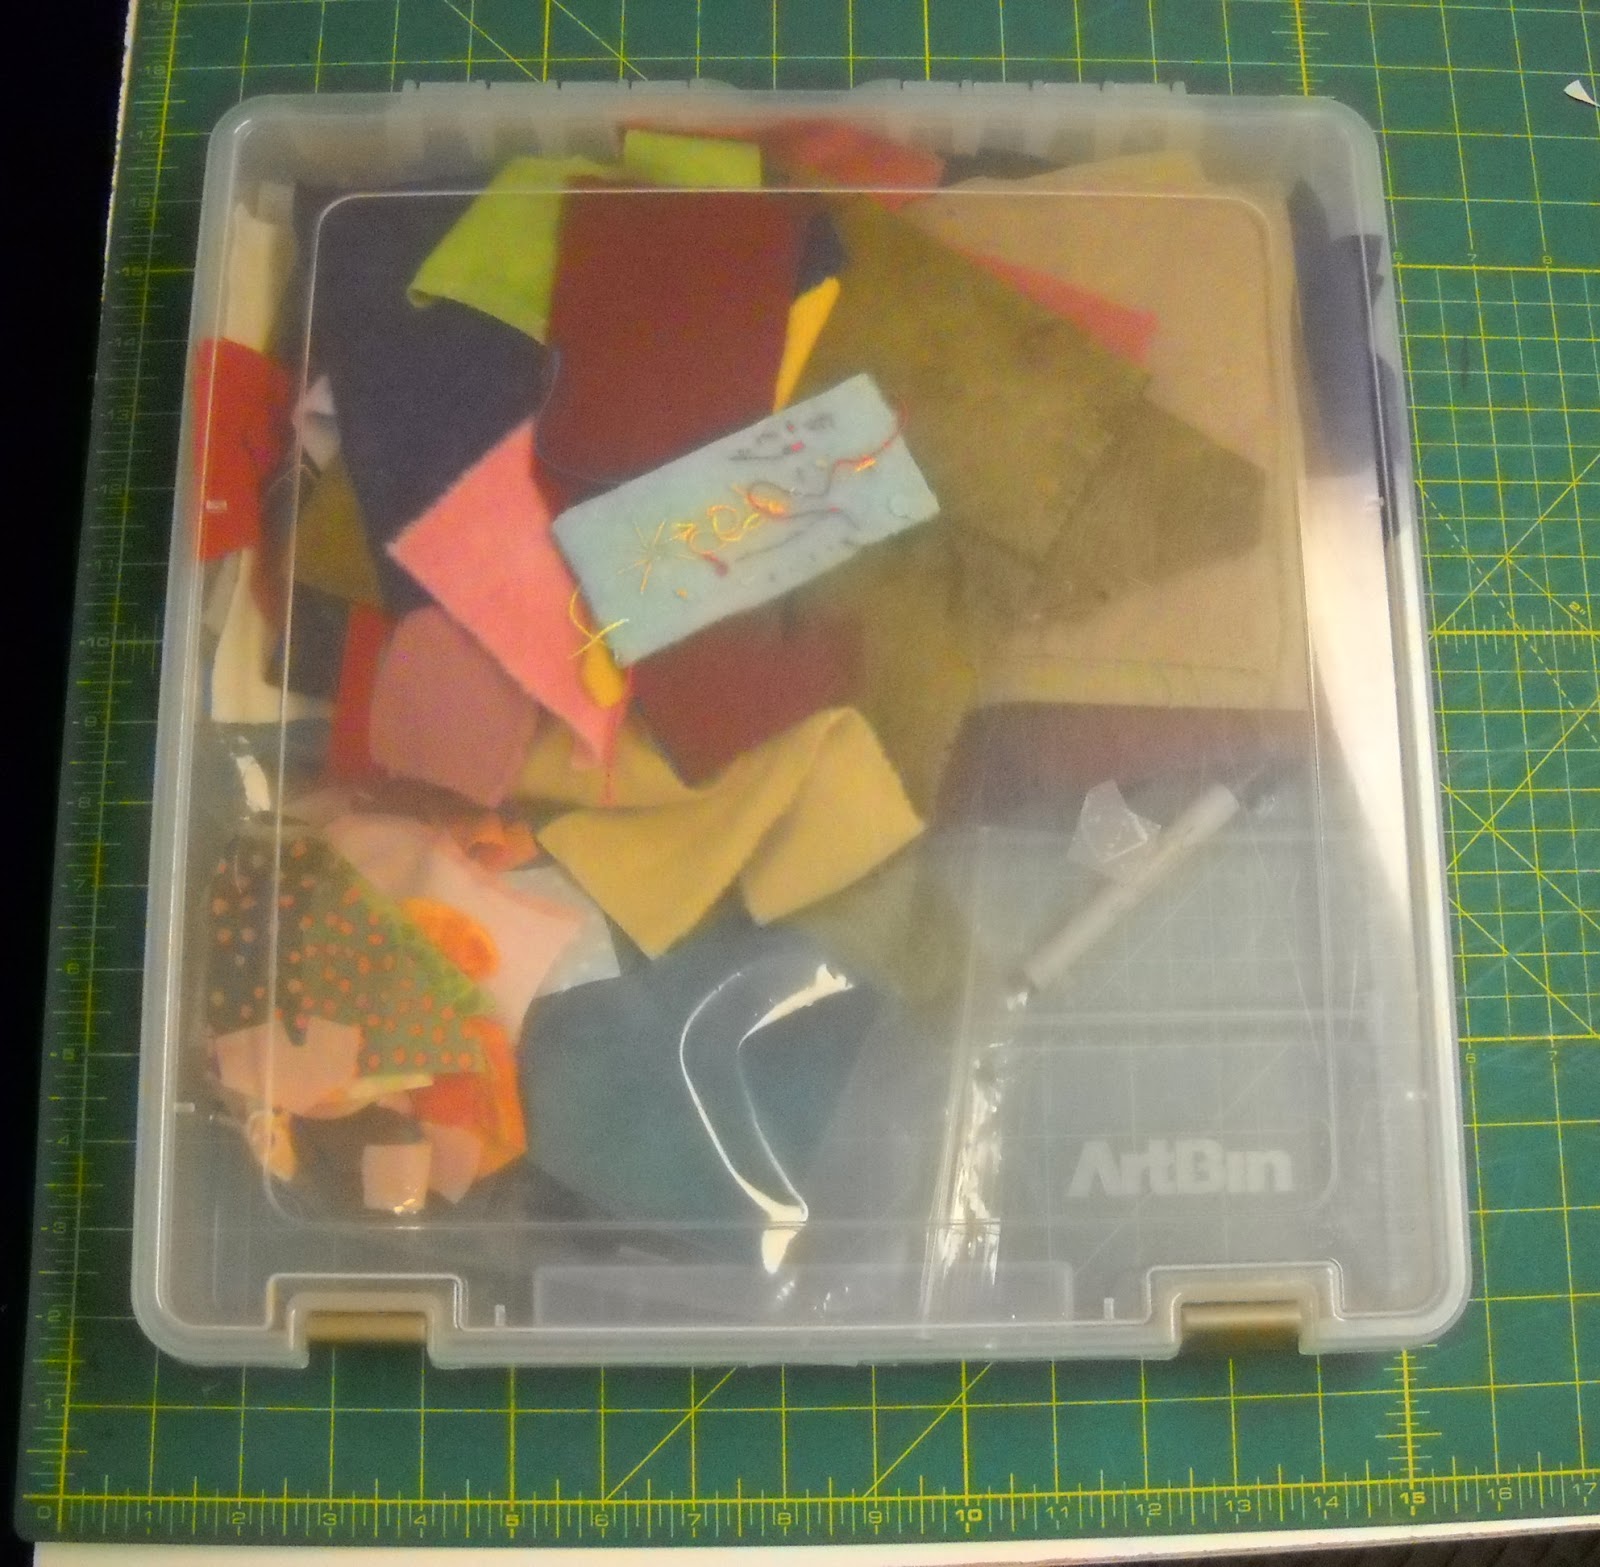
I find myself sorting through things and using my time to wrap up my  2013 Projects. I also find myself curious how you may organize their WIP?? My favorite storage idea is using these ArtBin Totes (you can find them at any of the big chain Craft Stores) They measure 15" square and about 2" deep: 
I love that they stack neatly on top of each other, snap securely shut for safe travel and I can easily label them for quick finding.
Now truth be told, I confess the discovery of a few forgotten WIP. (UhOh! How'd that happen!!) Be curious to see if they make it onto my  2014 "to create" list. But for now, I'm happily finishing an applique wall hanging and a bed quilt that will help cozy up one of our extra bedrooms. My quilting goal for 2013 create a series of quilts for our home. I'm hoping to conclude the year with a satisfying list of quilting finishes to share. (Keeping my fingers crossed!)


Saturday, November 9, 2013

Sunday Organizing: Bobbins

Am I the only one who hates this? 
You're in the middle of a sewing project and your bobbin runs out! 
I don't mind changing the bobbin, but having to wind a new one mid project, for some reason, annoys me! (chuckles!) So here's my solution: 
Upon the beginning of a project, I wind a whole set of bobbins using my  Simplicity SideWinder Bobbin Winder.  I  really do just  love flipping open my case and popping in a ready bobbin.  (Simple pleasures I guess)  

I also use it to wind all my applique threads for easy access and travel.

Just another little way I keep organized.  
With smiles!
Val:)
Related Posts Plugin for WordPress, Blogger...